.png?width=46&height=30&name=Logo-symbol%20(1).png)
Well-chosen, well-sized visuals make your courses more pleasant to follow and quicker to load, on computer as well as on phone. This article covers Teach Up's rules for images, followed by our tips and a few examples to inspire you.
Table of Contents
Teach Up rules
Image formats
The following image formats are accepted in a course or an assessment: *.png, *.jpg, *.jpeg, *.jpe, *.jp2, *.gif, *.bmp, *.tiff, *.tif, *.svg, *.xcf, *.jfif, *.ico, *.cur, *.map, *.psd, *.avif, *.webp
Activity weight
Teach Up has no overall weight limit for an activity. However, avoid using too many gigabytes, for two reasons:
- page loading time;
- environmental impact.
The heavier a page is, the longer it takes to load and the more energy it consumes.
Export your images in RGB at 72 dpi, or 150 dpi at most if you need higher quality. To compress your media, you can use online compressors such as tinypng.com.
Image sizes
In Teach Up, only chapter covers have a defined size: 1920 x 1440 px (pixels) on a computer screen. The chosen visual fills the whole screen, whatever the device.
 |
 |
| Computer | Phone |
The image is cropped on phones. Center your main element so that it always remains visible, and avoid placing important information too close to the edges.
Input visuals can be of any size and any shape (landscape, square, portrait).
However, for the best result, use good-quality images or screenshots with a width between 980 and 1600 pixels. Beyond this width, Teach Up automatically resizes the image to reduce it.
The logo
You can import your logo into a Teach Up activity. It must be placed in the dedicated area, in PNG format, preferably in white or a light color.
Our tips and tricks
Banners
Avoid images that are too dark. A transparent black filter is automatically applied to your visual to keep the title readable.
Place the main element of your visual in the center. The banner adapts to phone screens by cropping the image: if the element is off to the left or right, it may not appear on mobile.
Do not add text to your image. Text is added directly in Teach Up to handle responsive display, make translations easier and ensure accessibility for screen readers.
Do not add a logo to your image either. Teach Up has a dedicated location for it: the logo is automatically integrated and repeated in strategic places.
Visuals
Want to use a portrait image? Teach Up may display it too large, because the platform resizes visuals based on their width (between 980 and 1600 pixels).
Add a white background around your image to widen it "artificially". Your visual will then be displayed correctly.
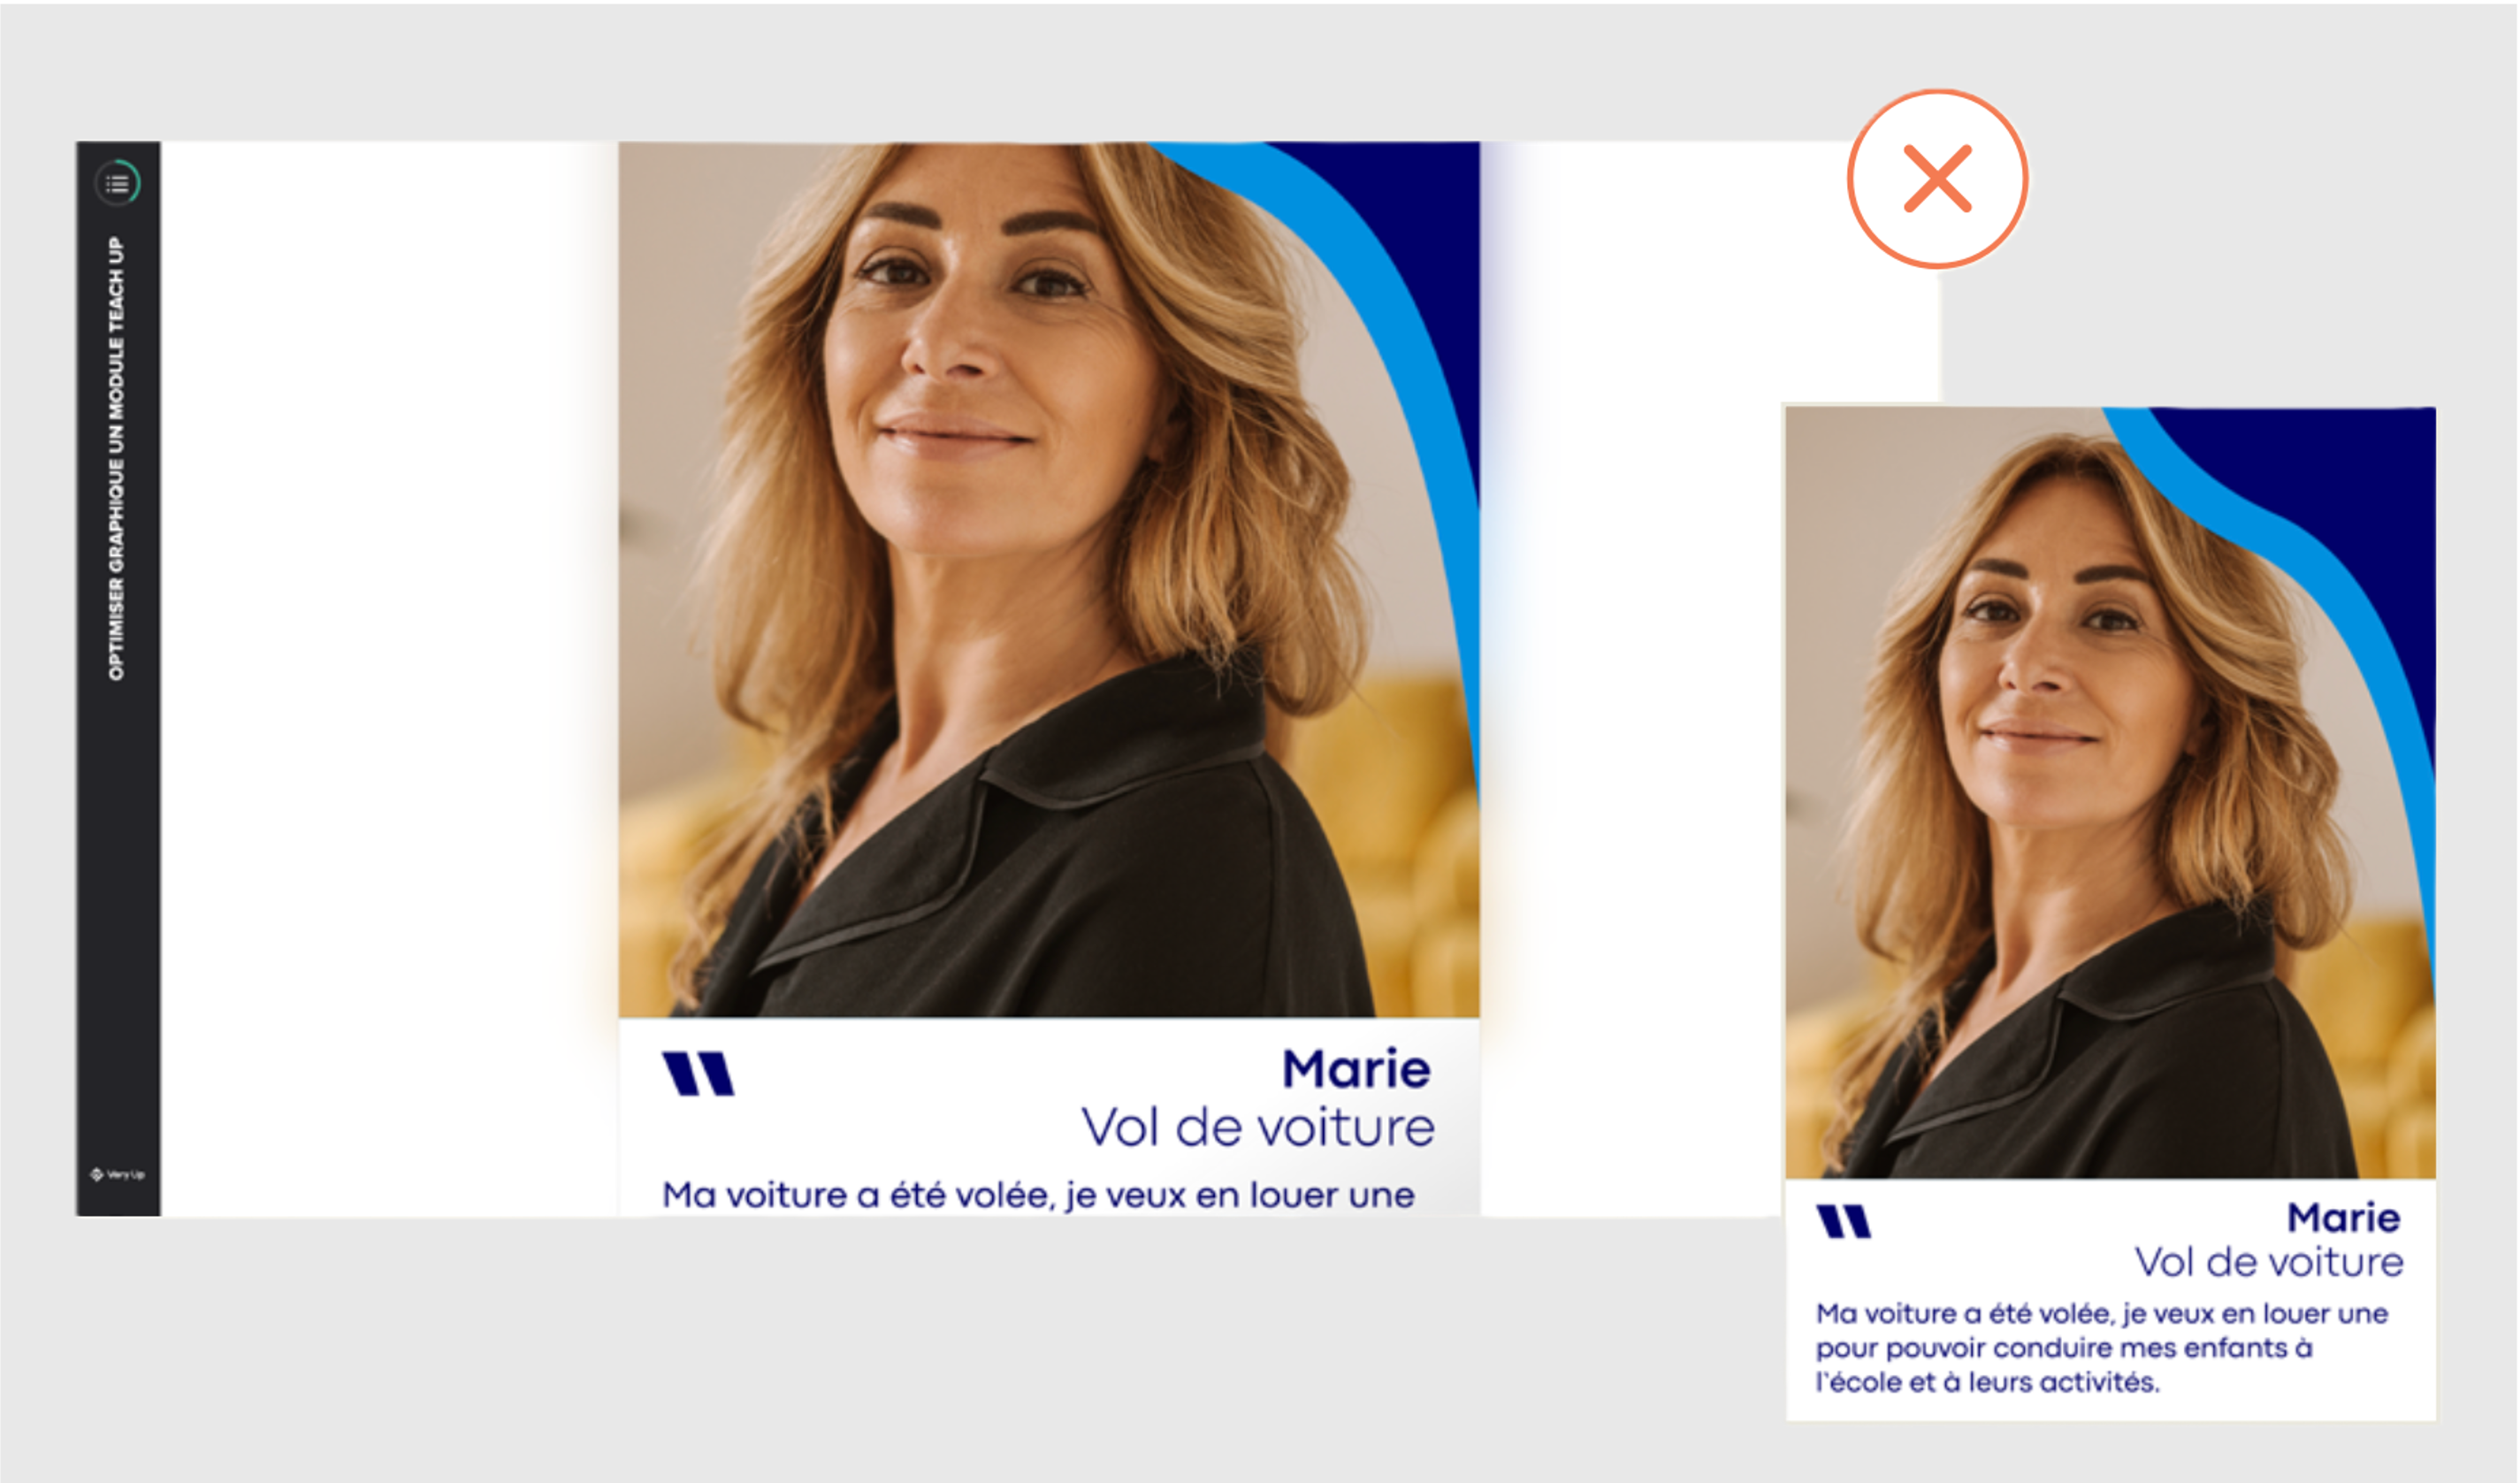 |
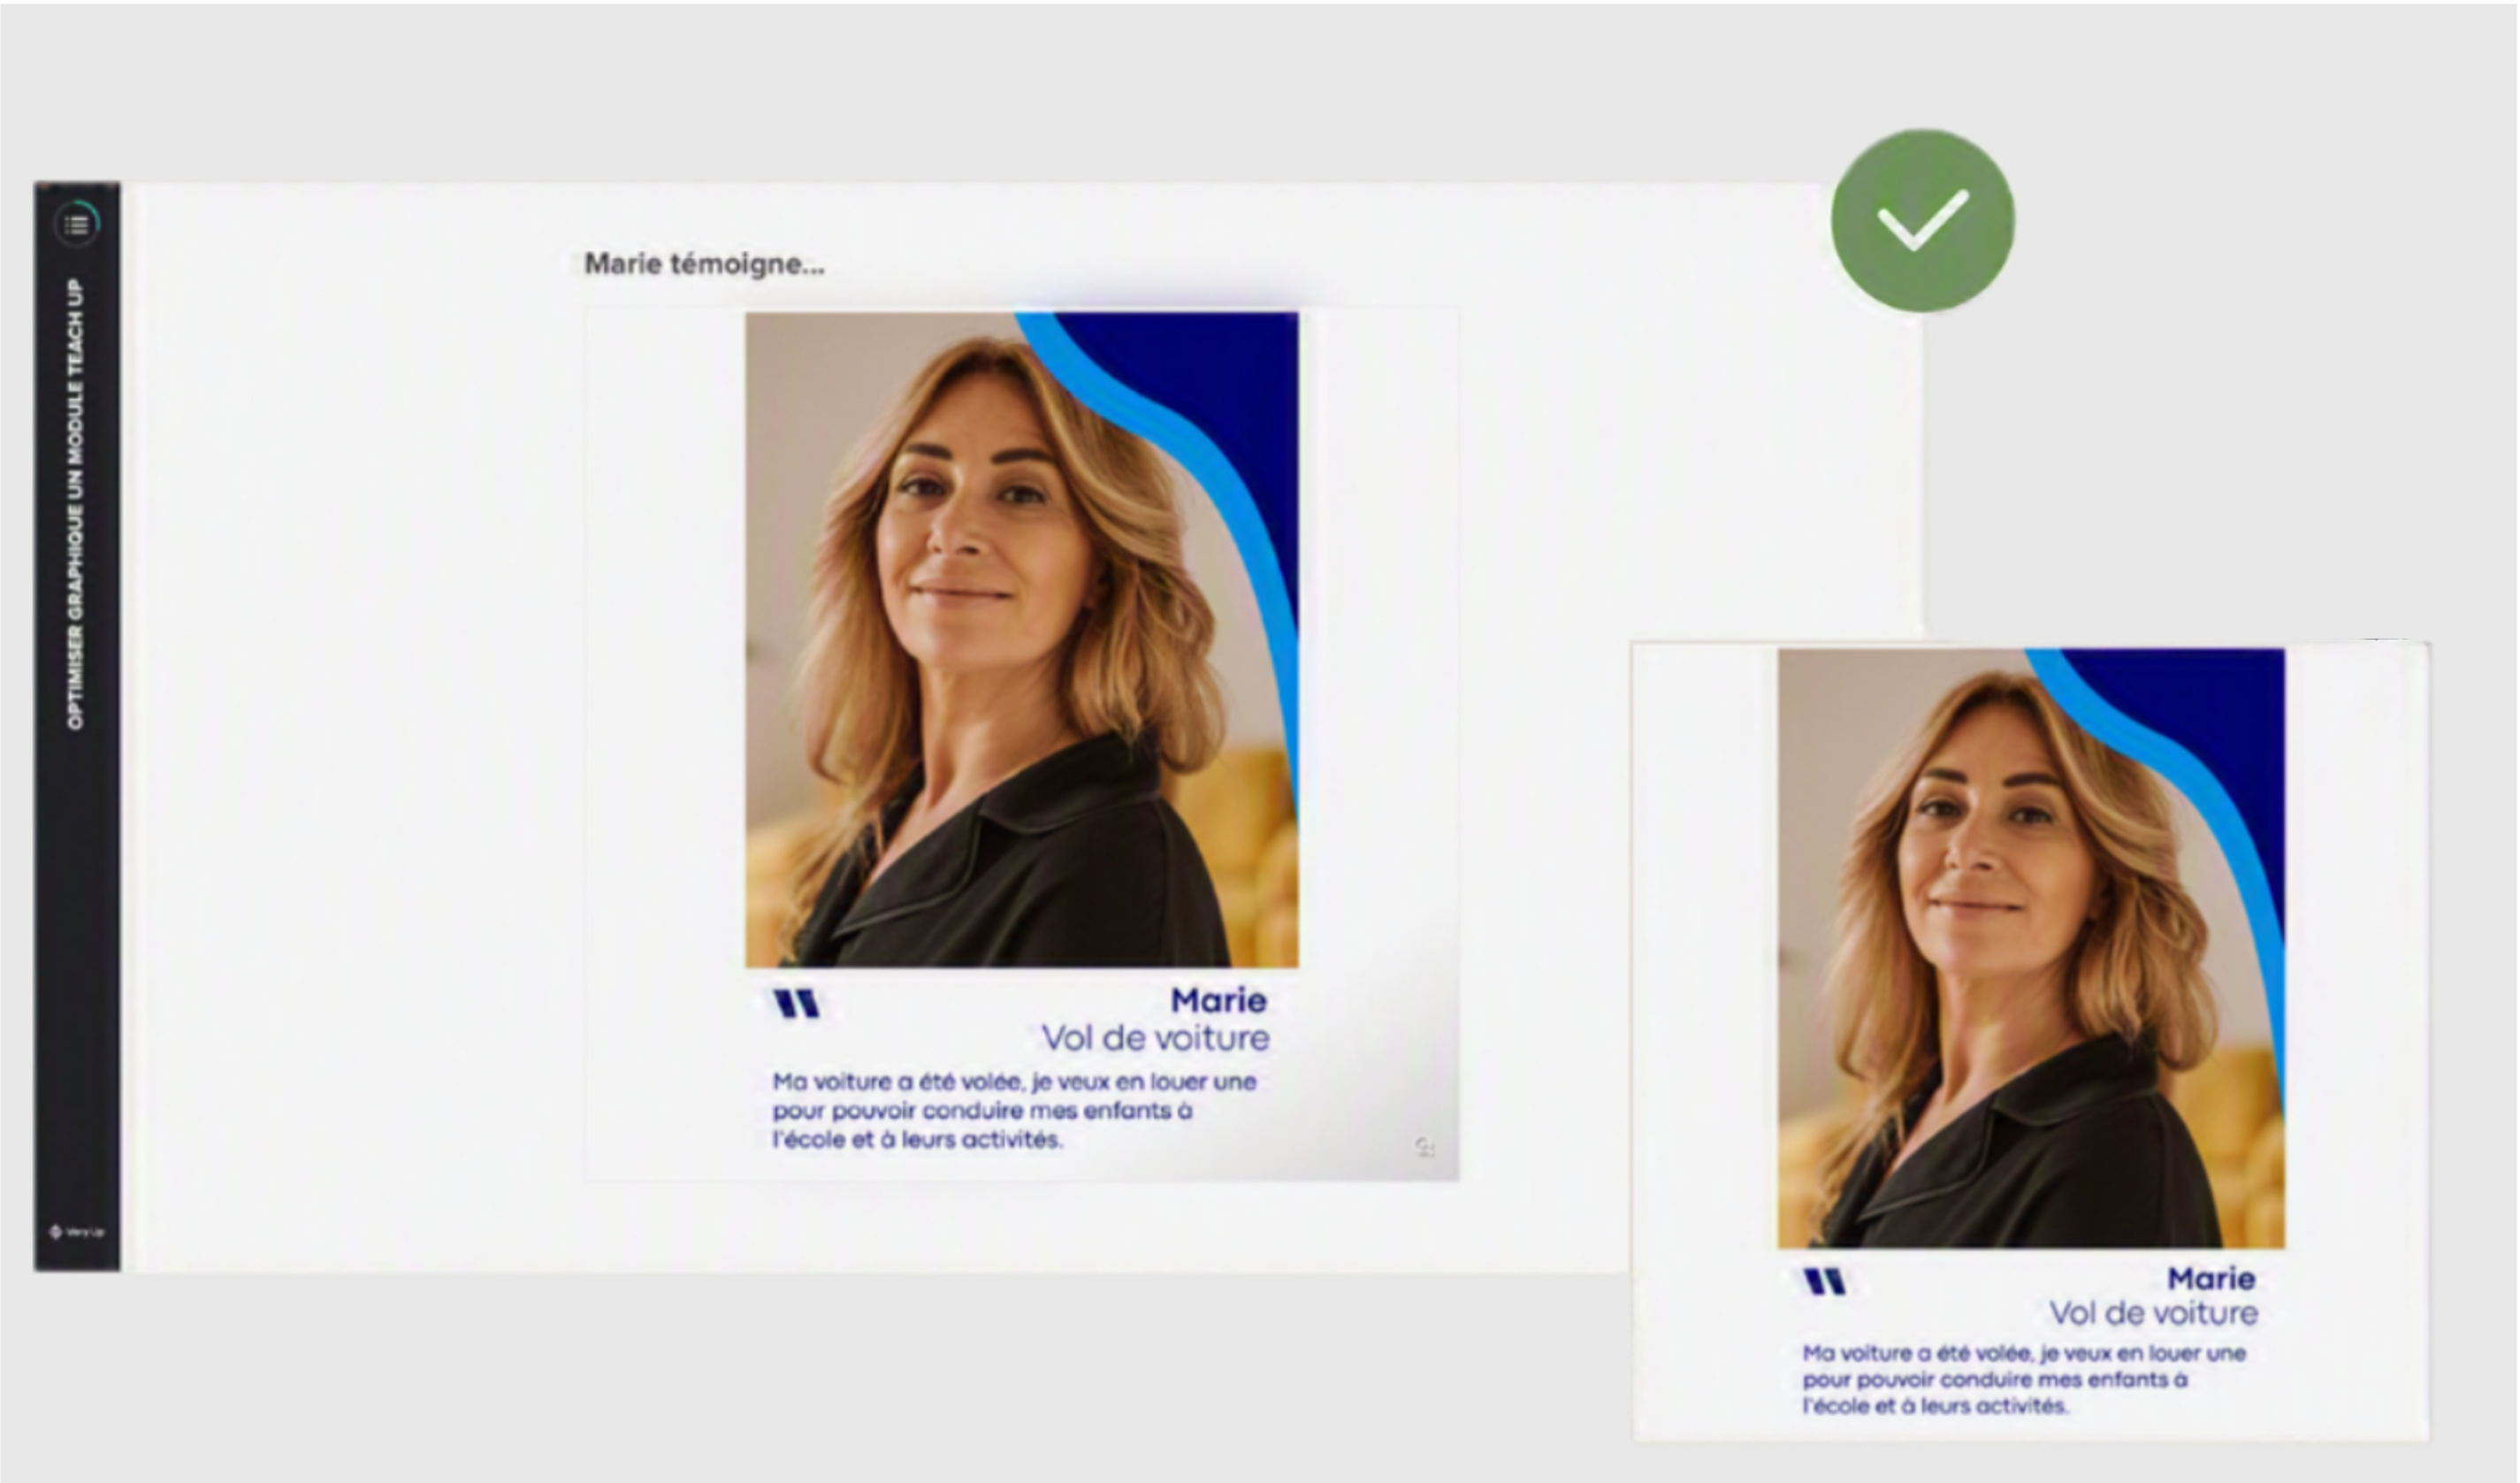 |
| Image without a white background | Image with a white background |
Accessibility
For maximum accessibility, always write your text in Teach Up: screen readers cannot read text embedded in an image. If you do need text on a visual, transcribe it in Teach Up, either as the visual's caption or in an input field, as with clickable areas.
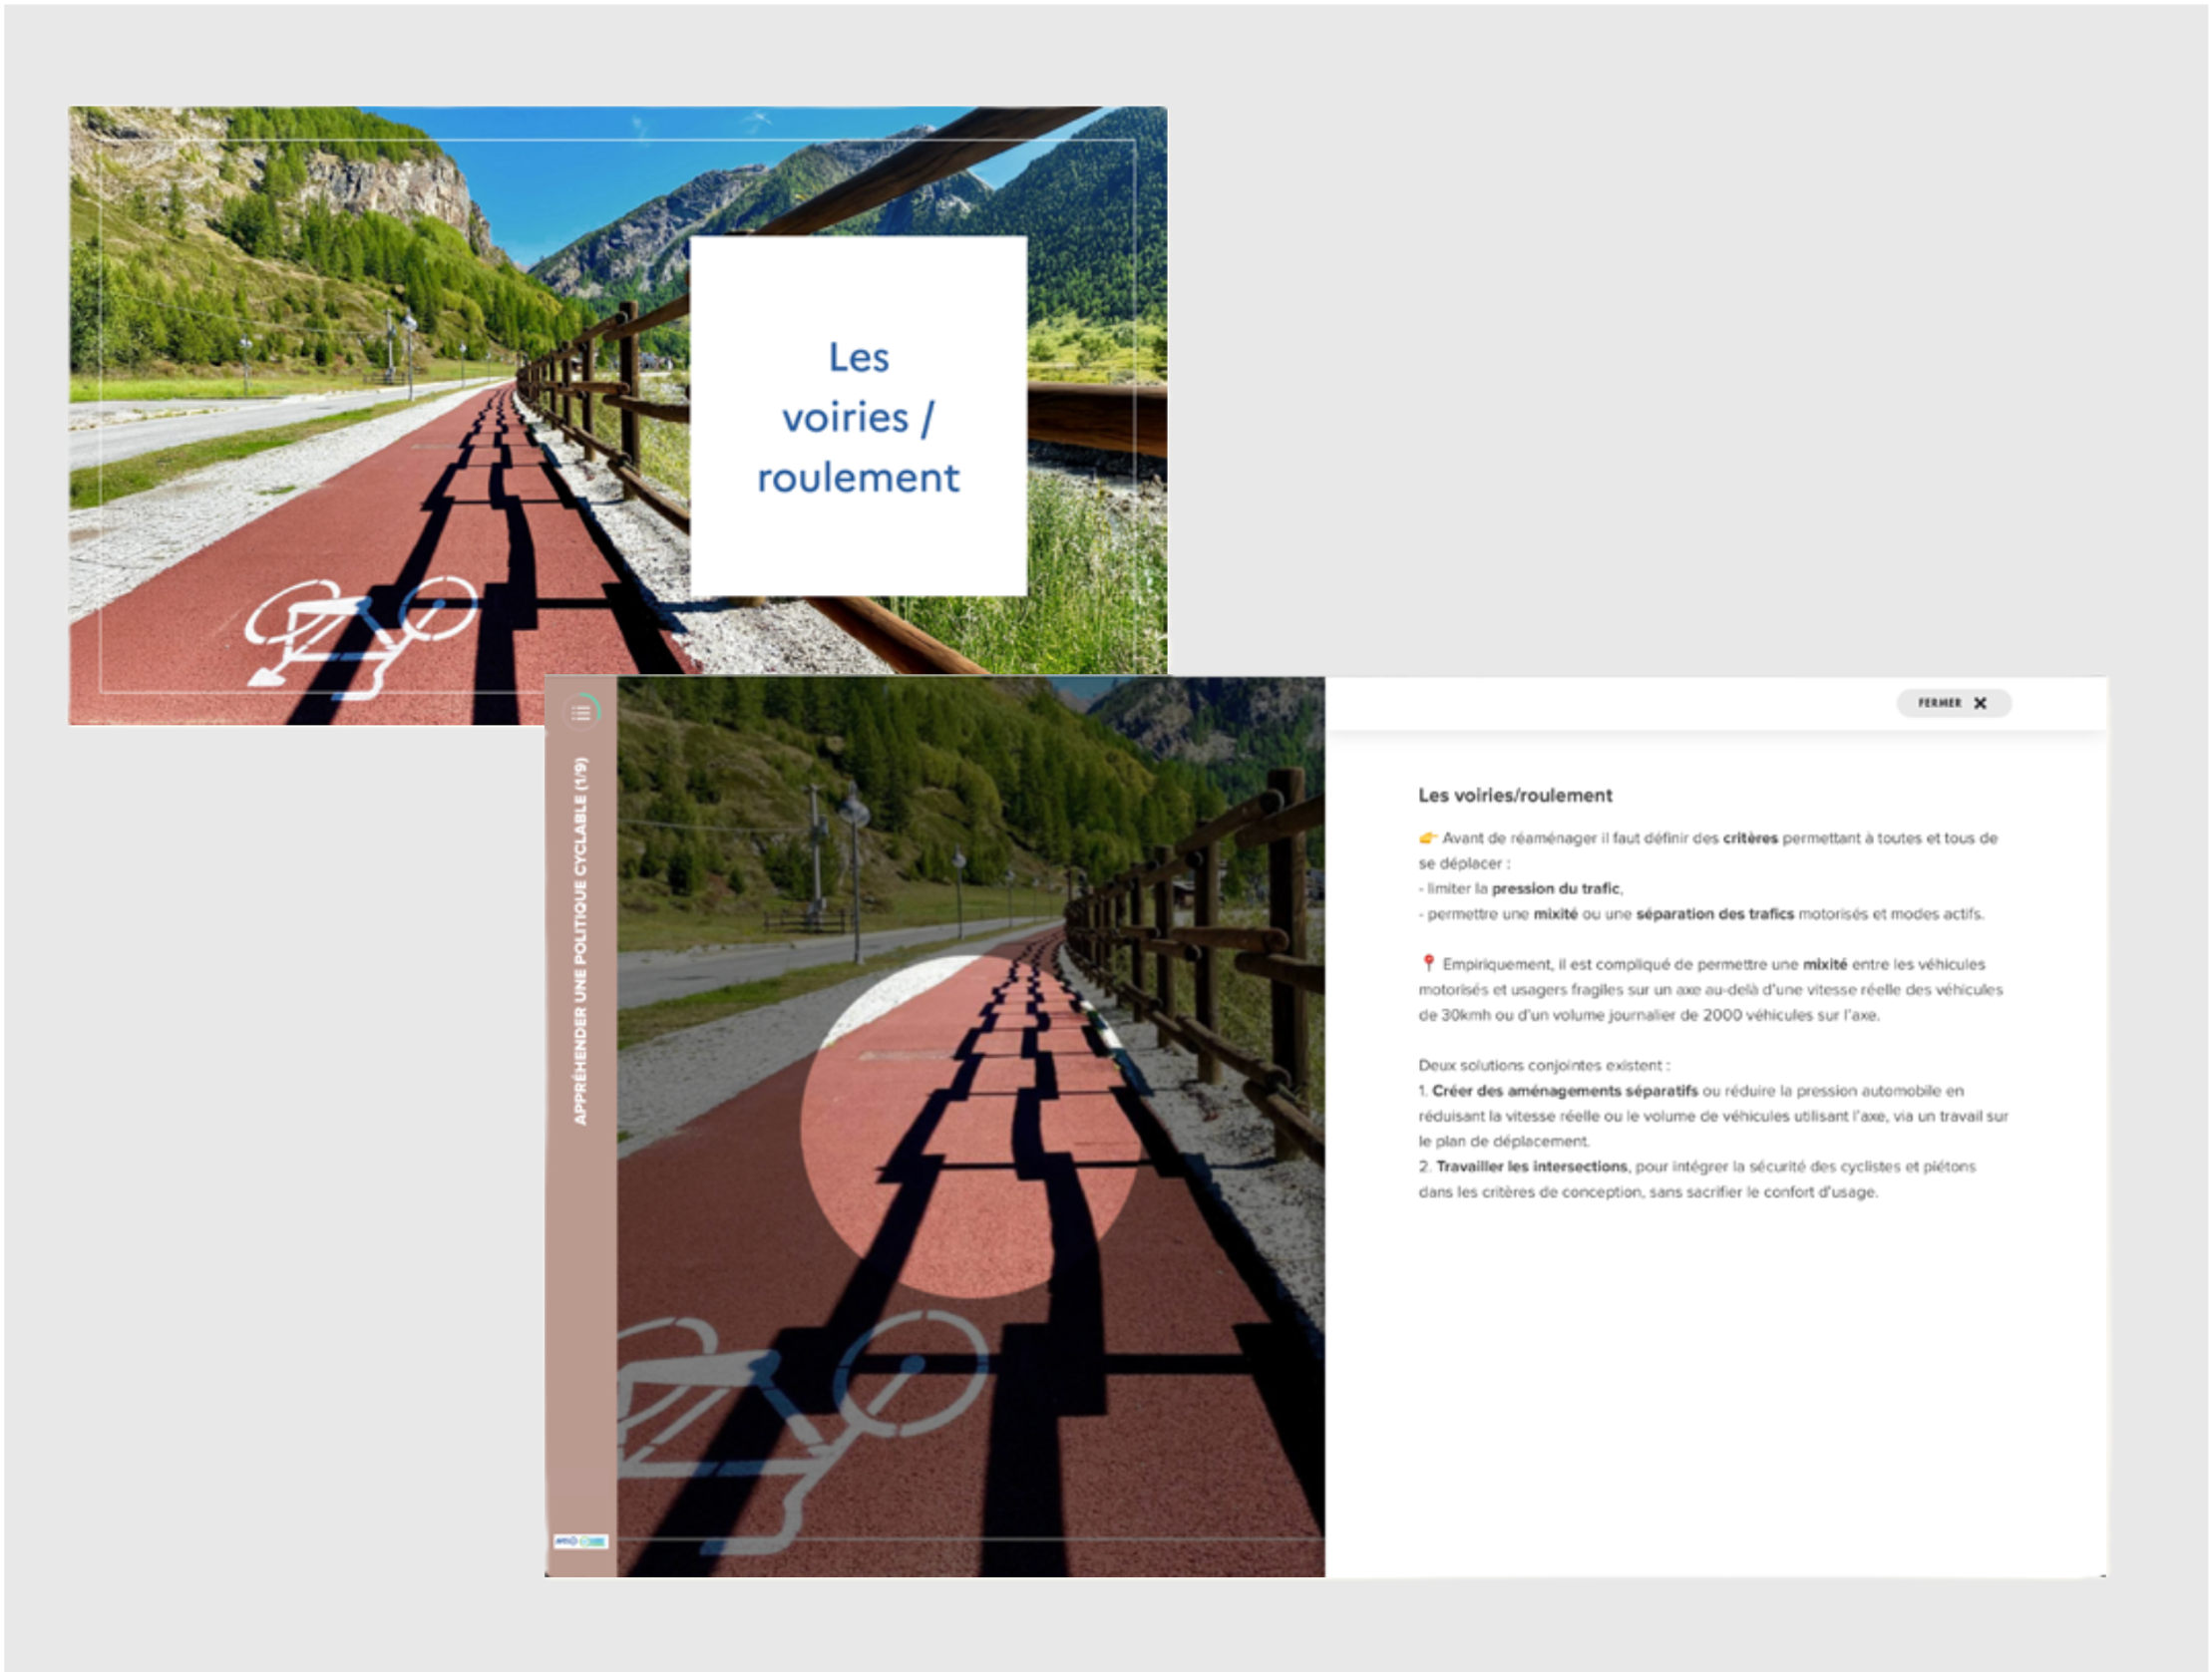
Add descriptions to photos and images, and transcripts of audio as captions.
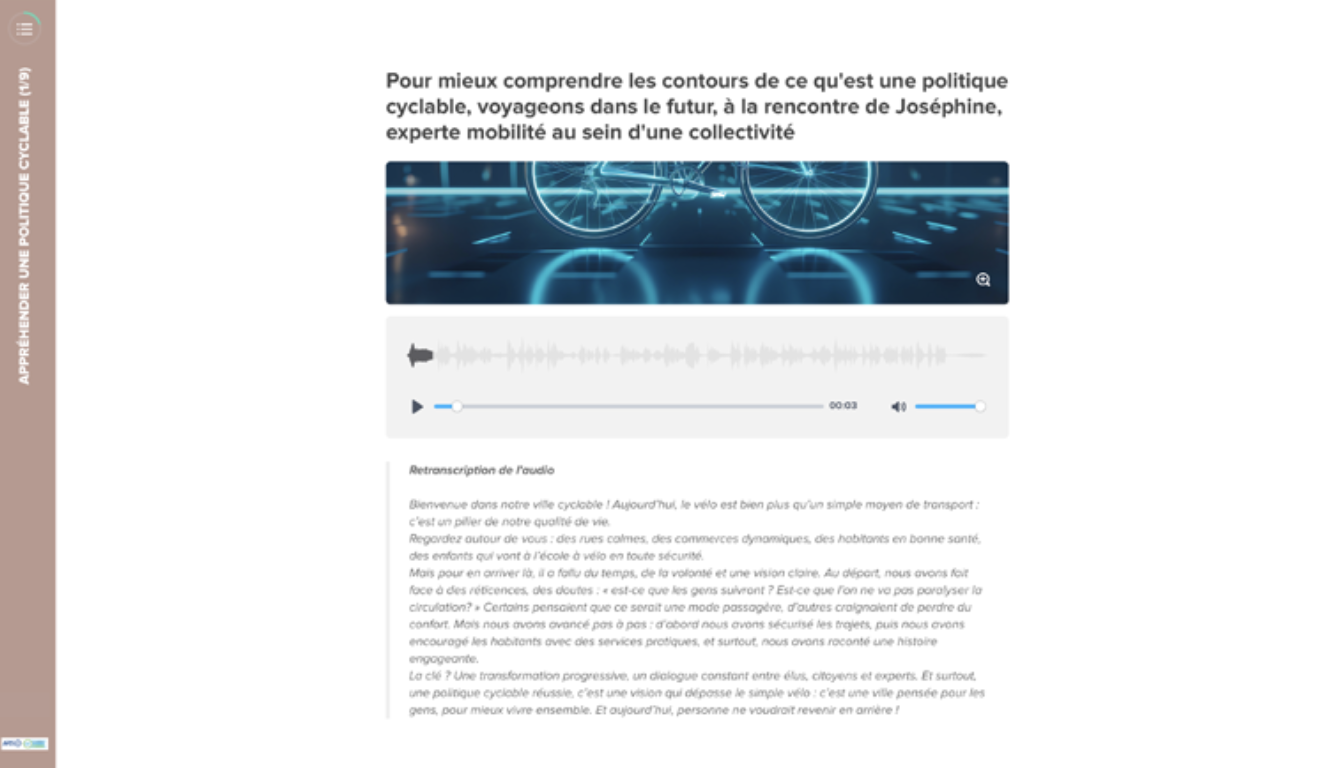
Find out more in the article Accessibility in Teach Up.
Examples of visual illustrations
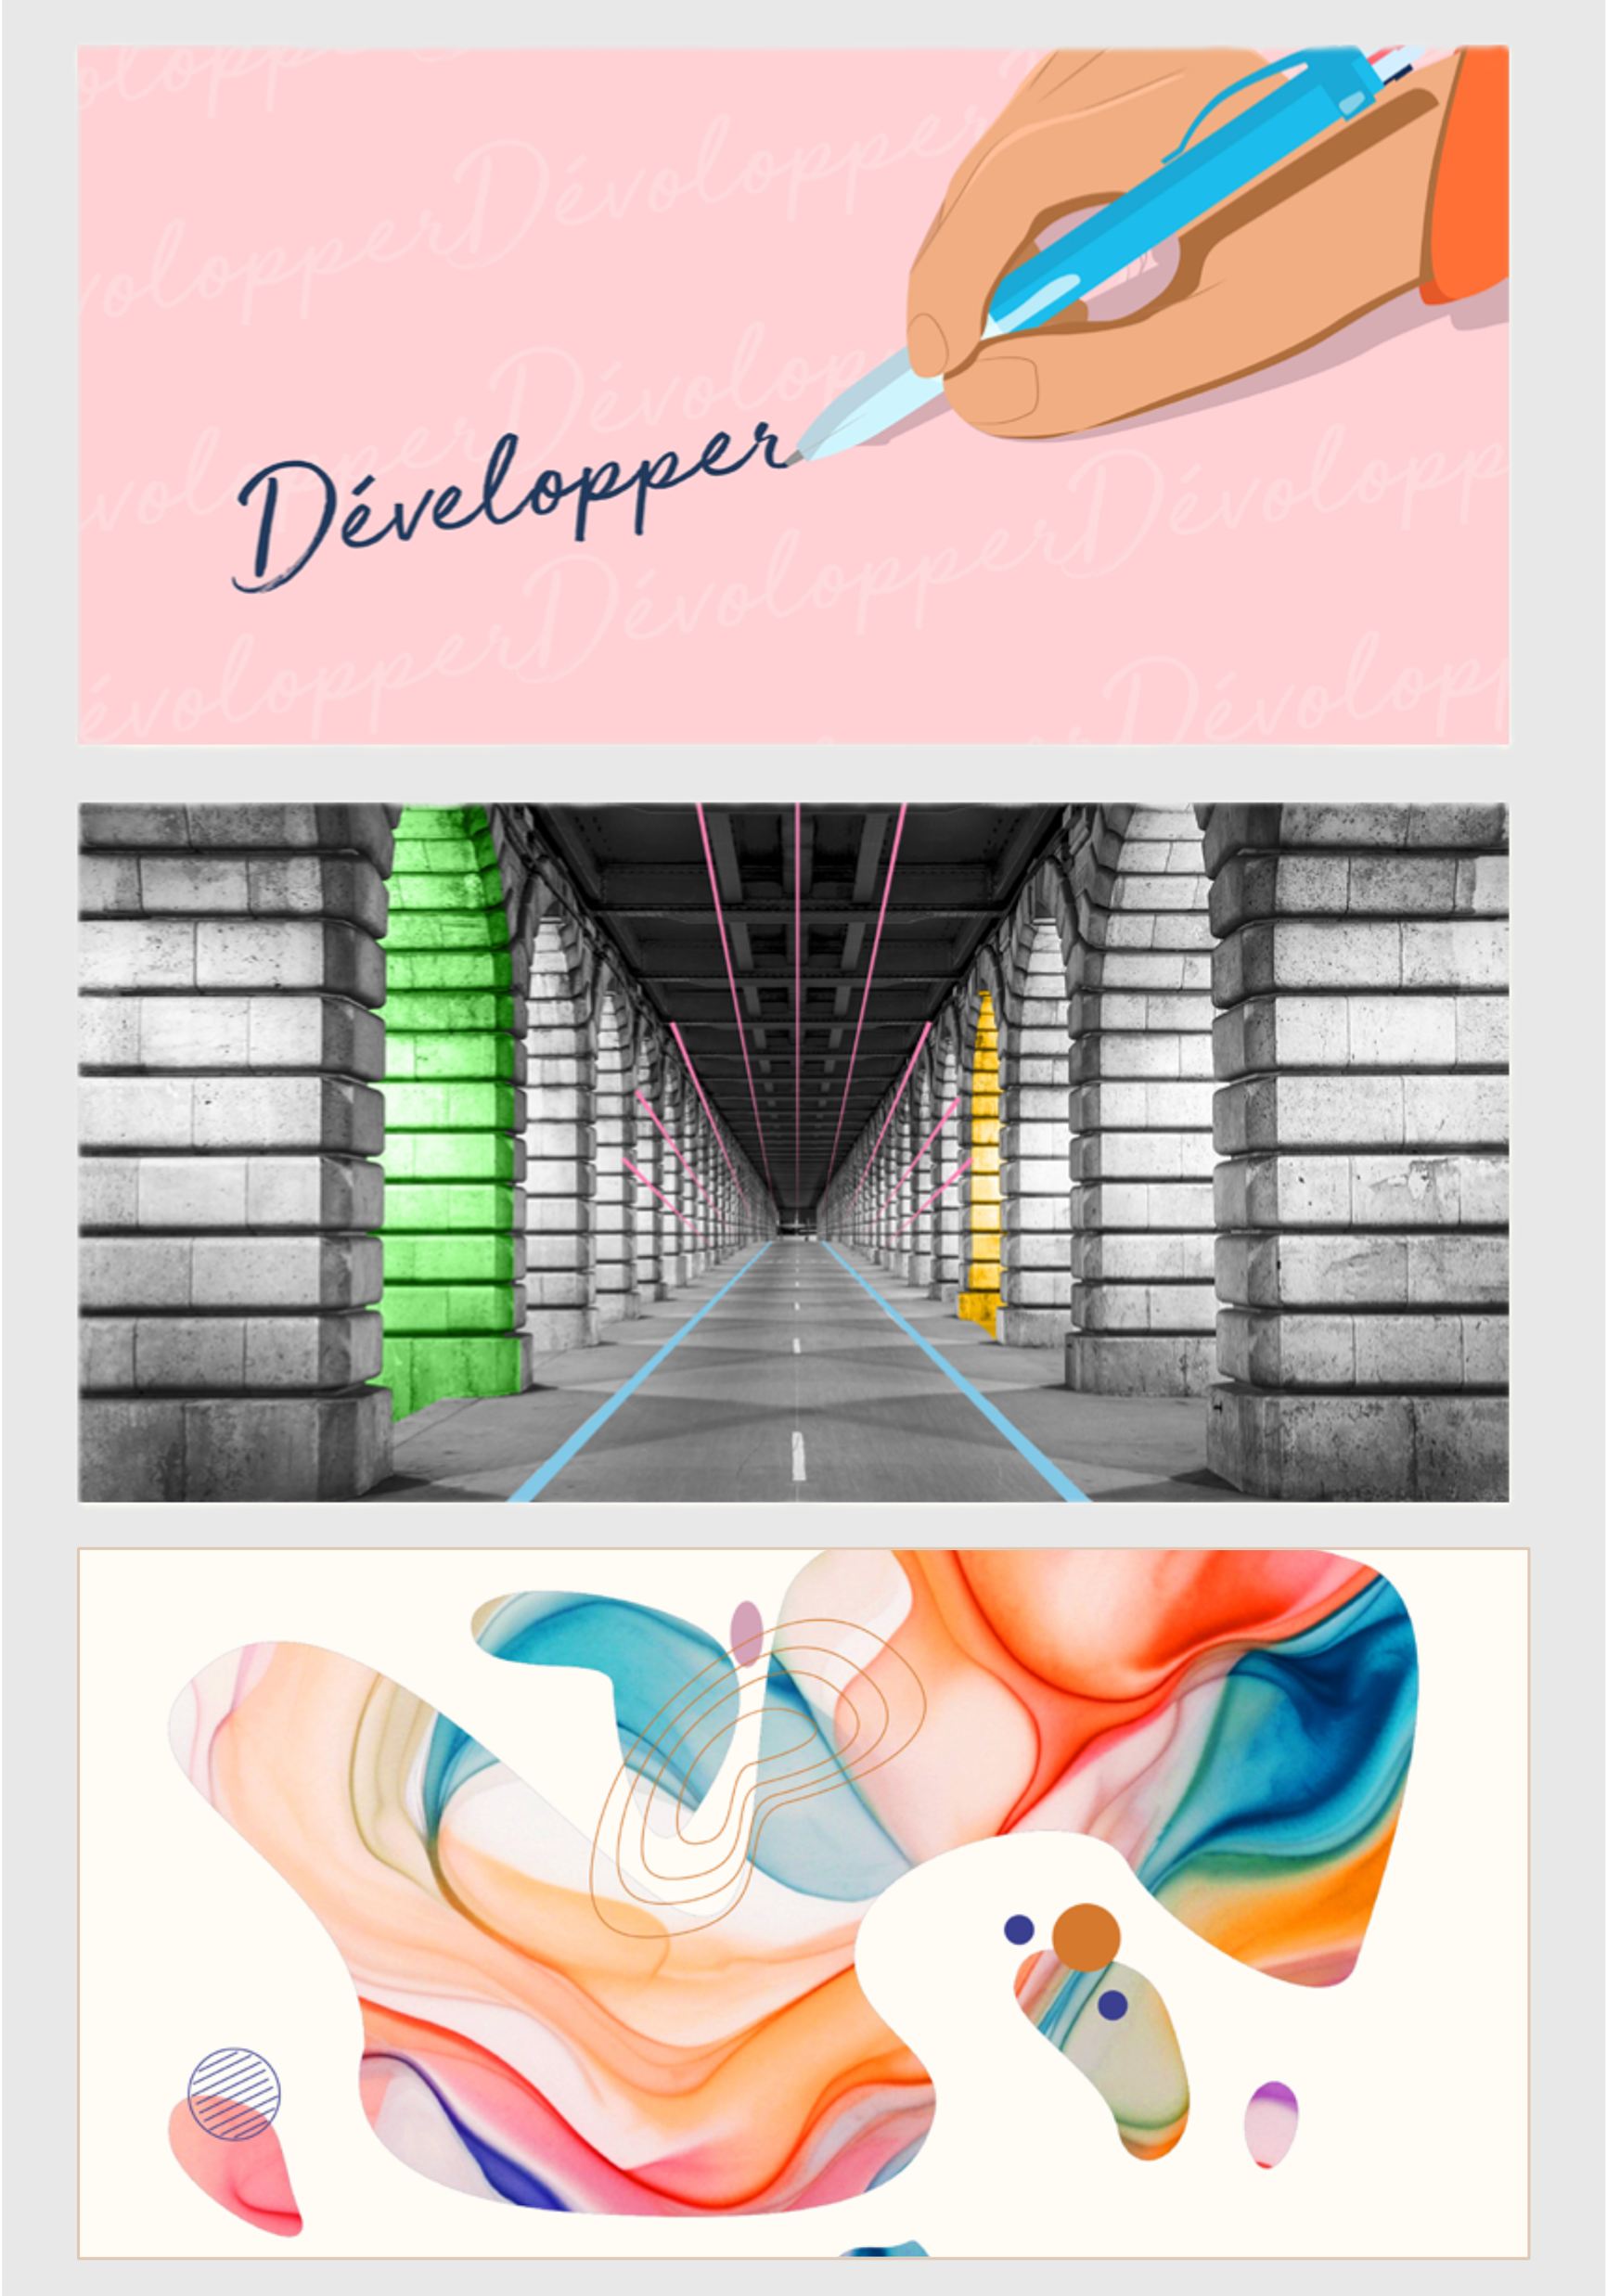
Banners
Whether illustrations, photos or GIFs, banners quickly immerse the learner in a world.
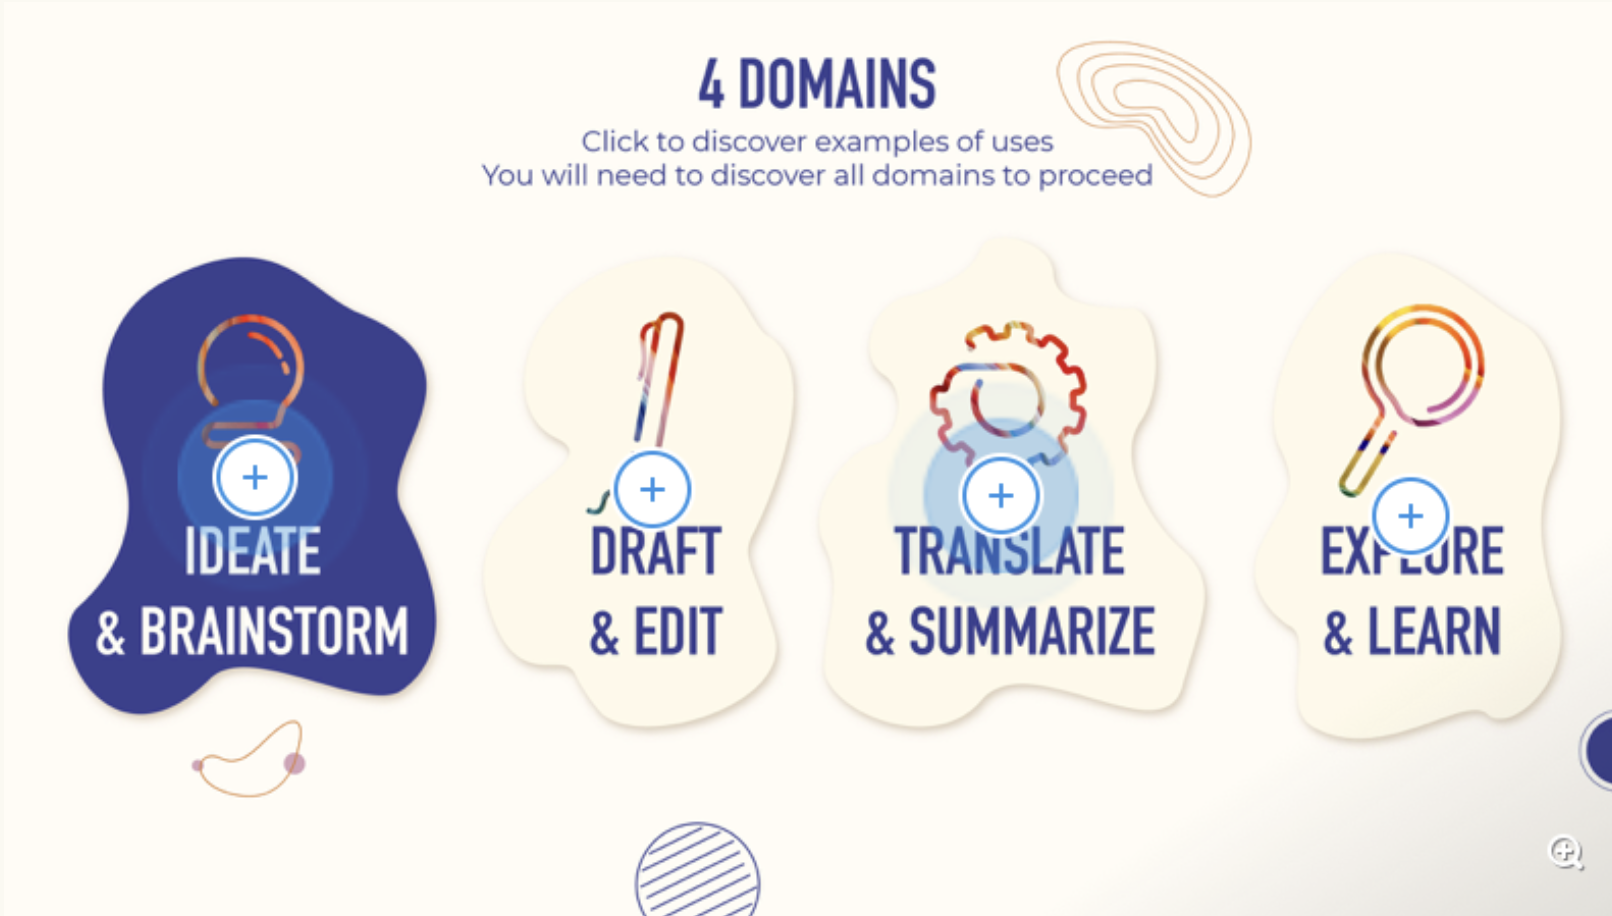
Clickable areas
Clickable areas let you point to specific parts of an image and write the related text in Teach Up.
Use them as a table of contents or as training path steps, illustrated with icons or illustrations.
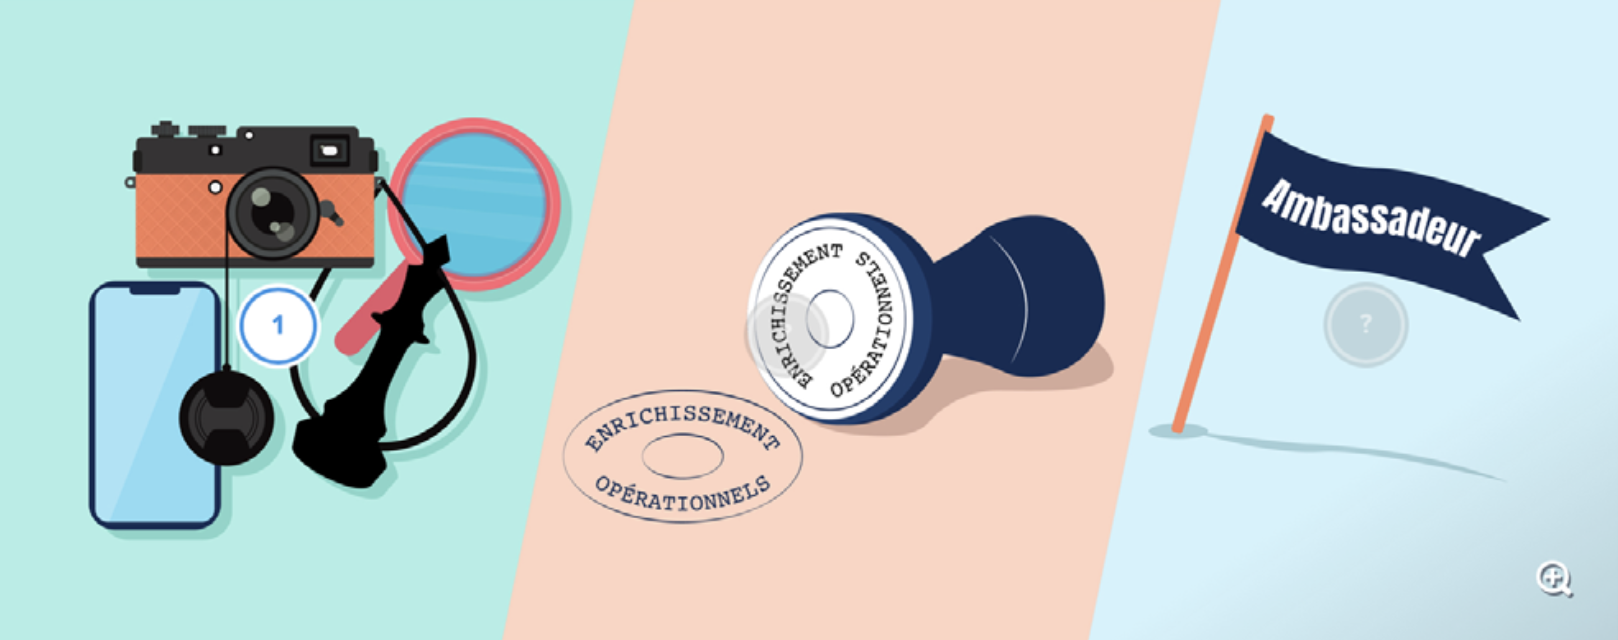
Use them for key points, illustrated with icons or illustrations.
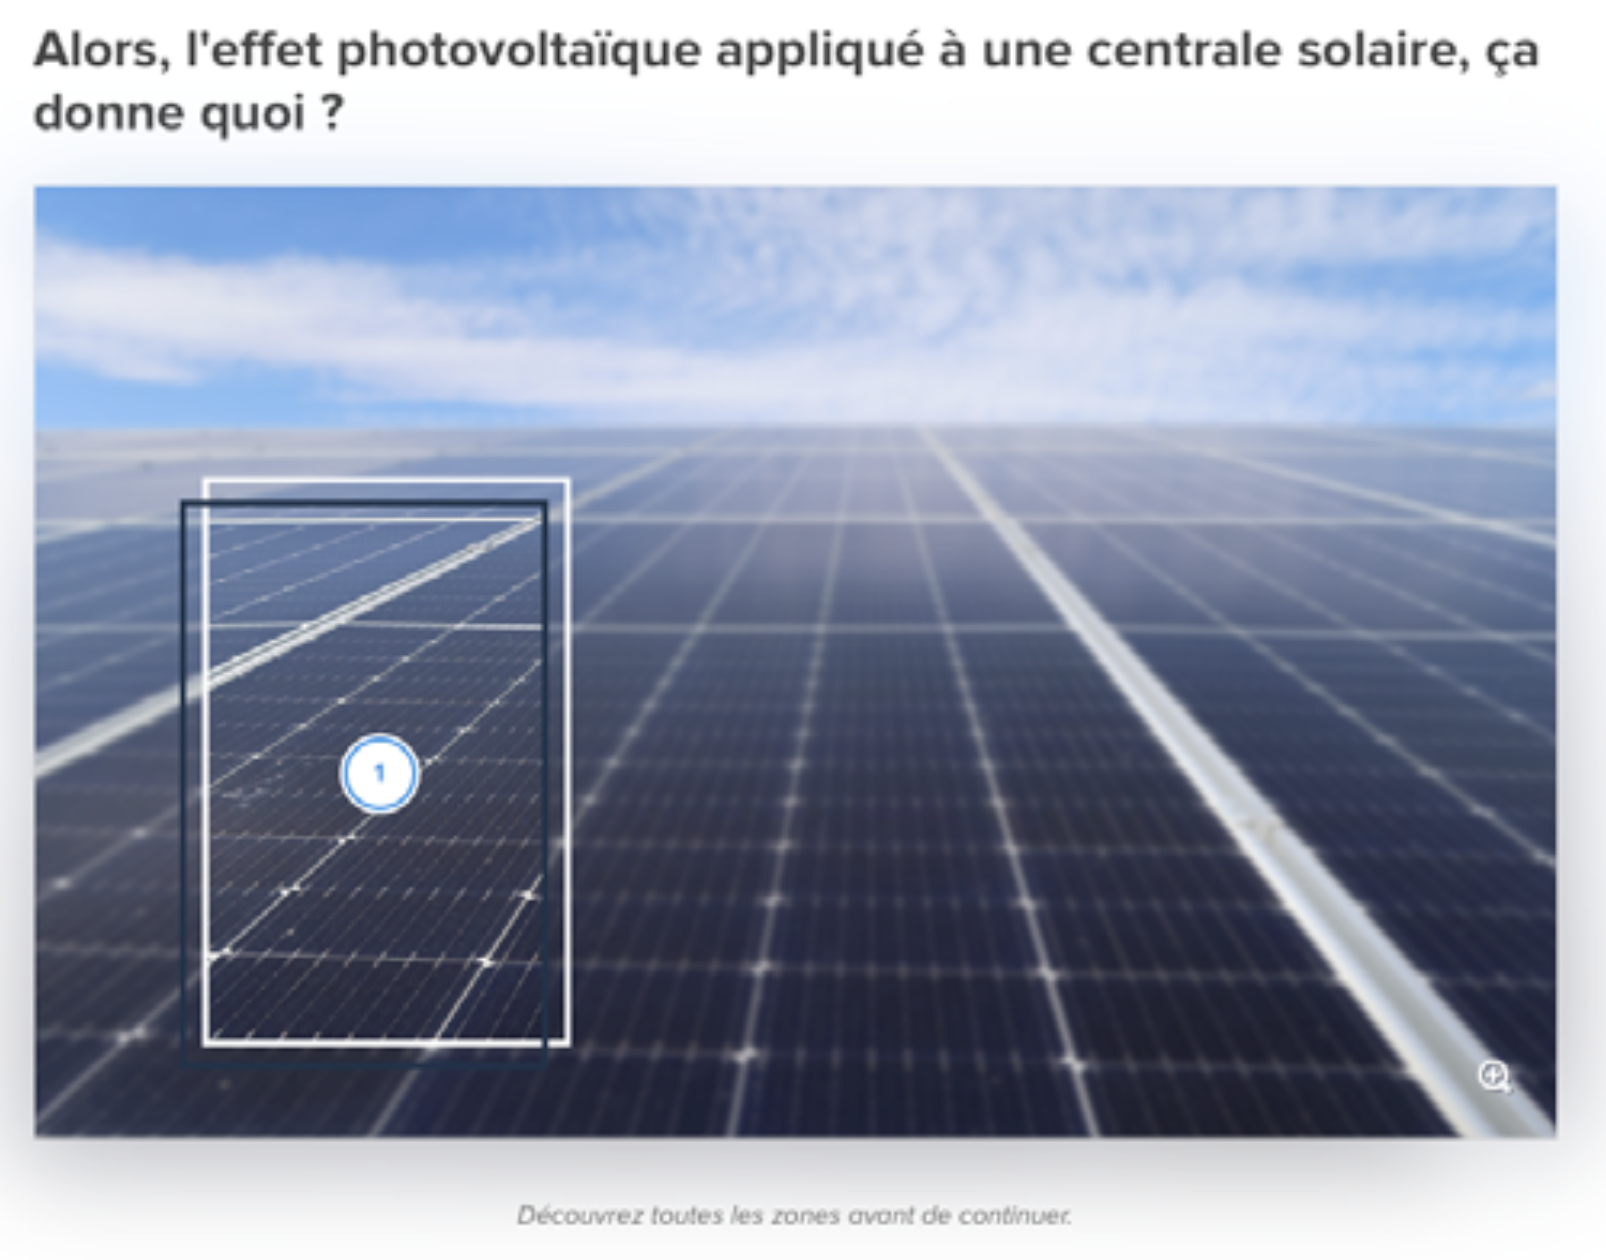
Use them on an image to illustrate and zoom in on a specific point.
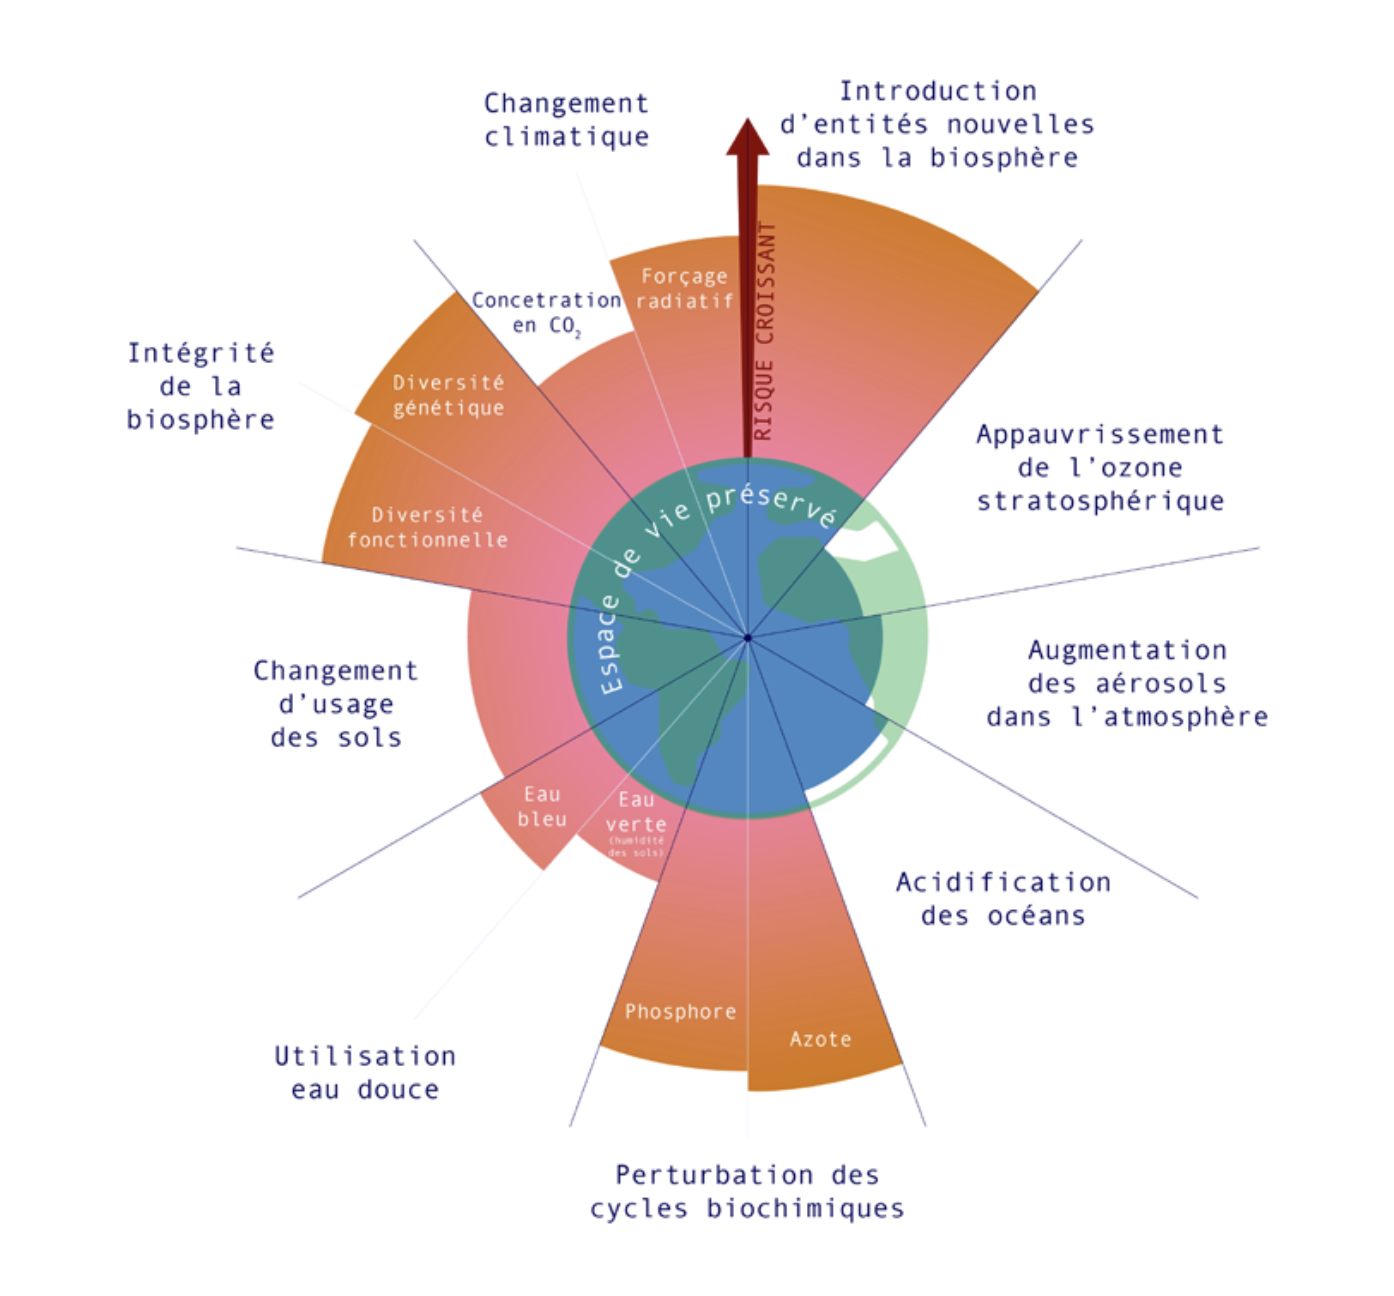
Use them on a diagram (mind accessibility and translation when the image contains text).
Important: all your photos and media must be royalty-free for commercial use.